It is a period of civil war...
Wait a minute...
Let's start again. It is a NEW blog!! I decided to create a new blog devoted exclusively to library related crafts, children's activities, tips, book reviews, and miscellaneous geekery for the whole family. This is a blog that can be used by educators, librarians, parents, and anybody that is looking for fun ideas that are actually doable. A lot of times, I see ideas on Pinterest and I get overwhelmed. My gosh, how much time must go into handcrafting individually sewn pencil cozies for every child in a class and how many mason jars can you actually buy!? Pinterest stress, by the way, is an actual thing. The internet can be a wonderful resource for finding ideas, but like a never ending Netflix queue, sometimes you will spend more time scrolling through just to find something/ getting overwhelmed by choice than you do actually DOING.
This is a blog by a children's librarian/ single mom with not a lot of time and not a lot of money. I will be using materials and supplies that can be easily found in a Dollar Tree, 99c store, grocery store, and rarely a Michaels or craft supply store. You shouldn't have to spend a lot of money or a lot of time to do fun activities with kids and you don't have to have the crazy creative genius of a stay at home/ homeschooling mom either. Seriously, all these blogs by homeschooling moms are off the hook. How do they get so many ideas!?
Here's a little bit about me. I am not the kind of person who can open up a refrigerator and say, "Oh! I have tomatoes, some leftover rice, a can of mushroom soup, and a toothpick! I can make a souffle." I mean obviously that would be silly because a souffle needs like.. eggs? At any rate, my brain very rarely thinks that way. I'm the kind of person that can follow a recipe, but I'm not super great at improvising. Why do I mention this? Because the ideas I am going to be sharing on my blog are things I was able to come up with on my own, or ones that I found online and actually DID. We will be talking about things that I have learned in the course of my career as a children's librarian/ parent, and things that might be useful for others to know.
First up - STAR WARS READS DAY!!!!
So in case you aren't aware, October 10 is Star Wars Reads Day. Even I was only vaguely aware of this day, by looking at other libraries and what they were offering, since for me May the Fourth was what I considered to be "Star Wars Day." Basically it is an excuse for geeky librarians, booksellers, and retailers to have Star Wars parties, which totally works for me. With the new Star Wars movie "The Force Awakens" coming out on December 18 (AHHHHHH!!!!! I'M SO EXCITED!!!!!) I was pretty stoked to have a Star Wars party at my library for no other reason than because Star Wars.
As soon as I decided to participate in the event, I contacted my local chapters of the Rebel Legion and the 501st Legion to see if we could get some awesome cosplaying visitors. The process was fairly easy and I was contacted by the Rebel Legion very quickly informing me that they had members available to participate. The 501st I am still waiting for confirmation on. They are busy folks after all.
 I also started to think about crafts. The purim carnival at my synagogue this year had a space/ Star Wars/ Star Trek theme, and one of the activities was a pool noodle lightsaber. The super simple instructions for that activity can be found here. It must have been pretty funny watching me carry the entire box full of pool noodles from the Dollar Tree to my car and attempt to shove them inside. The checkout girl must have LOVED scanning 43 pool noodles too, but even here in California you can only find pool noodles at dollar stores seasonally. This is one of those activities that you want to plan in advance for. If your local store no longer carries pool noodles, you can still find them online, albeit for more than the $1 you can get them in store.
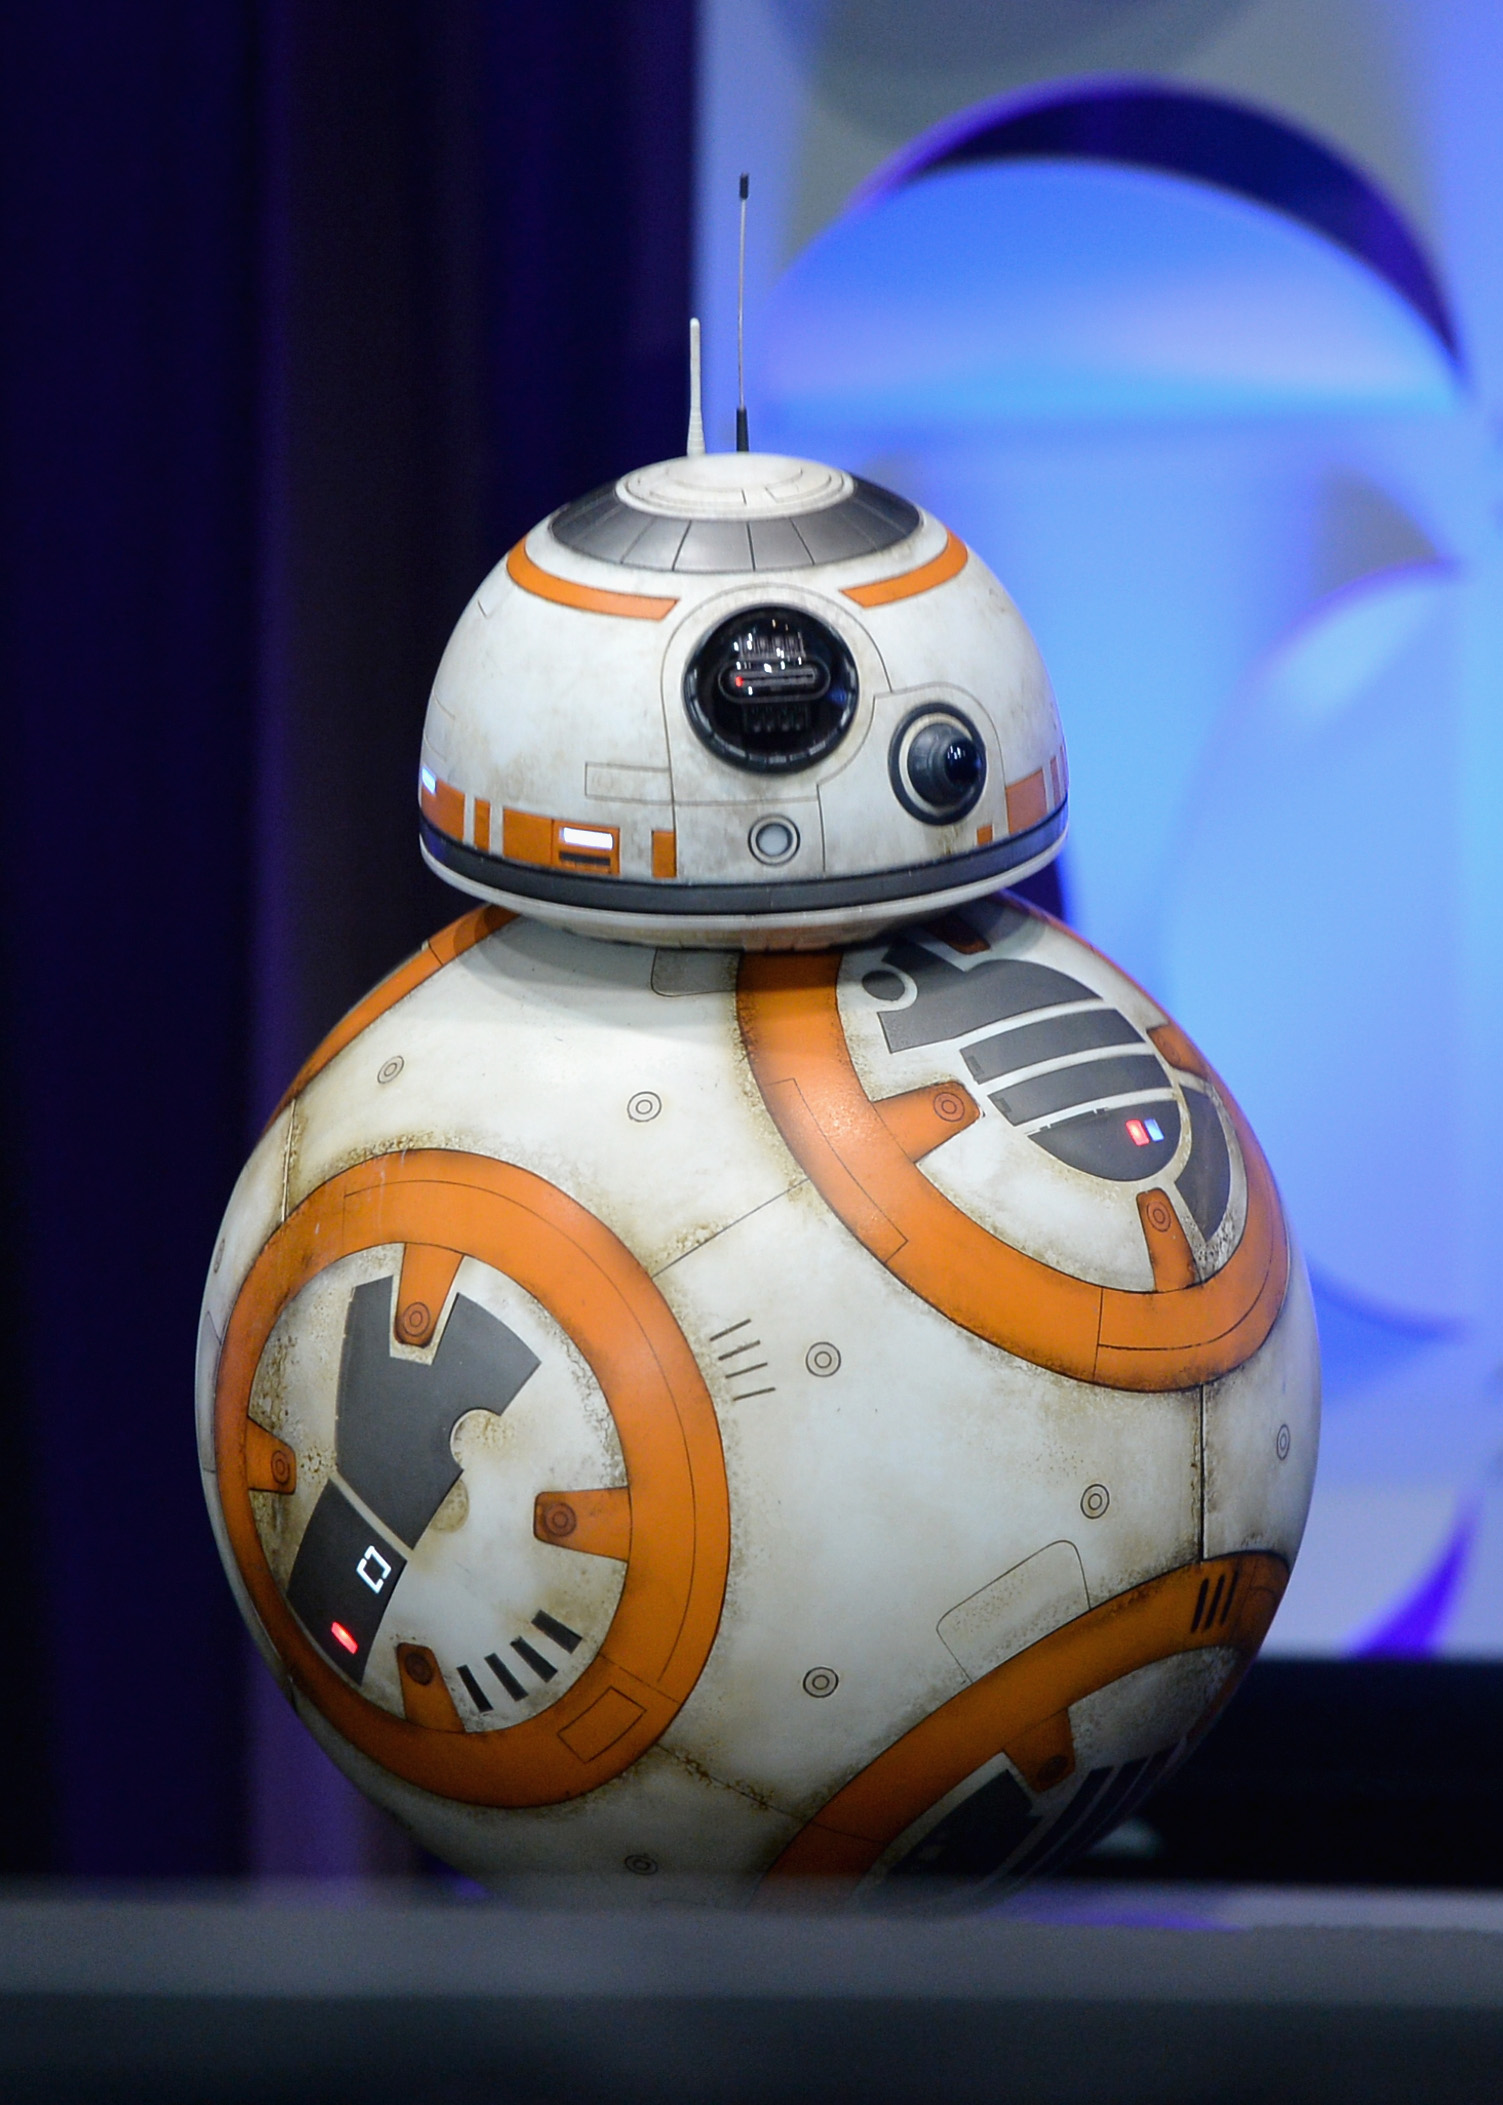
But what about another craft?! Then it hit me. What is the first thing that people were talking about when the very first Star Wars trailer was released? That adorable little droid, BB-8! Heck, he is on the logo for this year's Star Wars Reads Day after all. But how to make him? As a children's librarian, I would say that at LEAST 30% of my crafts involve paper plates in some capacity and those were a natural base. His "head" was a bit more tricky. I took a look at a lot of reference images, both fan drawings, stills from the trailer, emoji, and photographs of the droid when he made is appearances at various cons, like Star Wars Celebration.
My first step was to create the basic shape for BB-8's head shape. I did this in MS Paint. In fact, I made his whole head in MS Paint. I don't have photoshop, I don't have a lot of technical skill, and also I think it is good to show what comparably "low-tech" solutions can be found to solve problems.
Here is my blank state I started with by making a large circle, a small oval underneath it, and then using the eraser to erase the inside:
The next step was to fill in his head with all the bits and doodads. I figured it didn't need to be exact, just a general representation of what his head looked like. I did this all in MS paint using circles, rectangles, and curvy lines:
Then I assembled the rest of my materials.
For this craft you need:
1 paper plate
1 template
1 paper fastener
1 long piece of cardboard - approx 2.5-3 in thick and 9in long
1 square 4x4in piece of cardboard
1 small piece of black pipe cleaner - if desired
1 roll of masking tape
scissors
Step 1: Assemble your supplies. Color the template the colors of your choosing, decorate the paper plate.
Step 2: Punch a hole with your scissors into the middle of your square cardboard piece and insert the paper fastener
Step 3: Tape the square (fastener head down) onto the middle of your paper plate (the "eating"side - you want the rounded side for your body)
Step 4: Punch another hole with your scissors into the long piece of cardboard. You are going to want to do this fairly close to the bottom, but not so close to the bottom that it is off balance. Then push the fastener through the hole and open the wings
Step 5: Tape the top of the neck onto the back of your head. You want the head to be layered on top of the paper plate just a little bit, so lay your head down and kind of eyeball it
Step 6: You are all done! Now you have your own adorable BB-8. If you want to, you can attach a pipe cleaner to the top of his head for a little antenna.
He even moves!!
Wicked cute, right?
You can even allow kids to do their own unique colors/ designs for his base.
Super adorable. I'm really excited for our library kids to get their hands on these.
Keep on rolling, internet friends! Keep on rolling!


